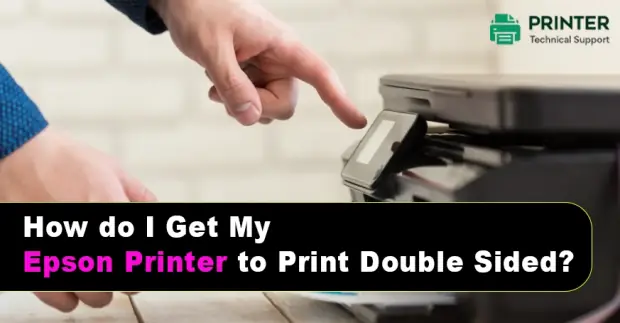
How do I Get My Epson Printer to Print Double Sided?
The absent printer has a speed of 27 pages per minute for black printouts and 15 pages per minute for colour printing. There are times when you may be required to print double-sided pages on your absent printer. For that you have to choose the duplex printing checkbox, click on the auto checkbox to get the double-sided printing job done automatically, go to the settings option select the left language to print double side for the tab on the ok button, and return to the main tab, you can make further adjustment as for your requirement select the type of documents you want to print choose okay to return to the main tab. You can test the changes by doing double-sided printing and following the on-screen instructions while printing.
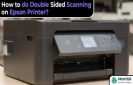
Selecting Double-sided Printing Settings on Windows10 and 11
Auto (Long-edge binding)
To print your double-sided print job, choose Auto (Long-edge binding), which will instantly flip the paper on the long edge.
Auto (Short-edge binding)
To print Epson Printer to Print Double Sided job, choose Auto (Short-edge binding), which will automatically flip the paper on the short edge.
Manual (Long-edge binding)
Printing one side of your double-sided print job manually (long-edge binding), then requesting you to turn the paper over to publish the other side (recommended for paper types that do not support automatic duplexing).
Manual (Short-edge binding)
To manually publish your double-sided print job (short-edge binding), print one side before being prompted to flip its paper onto the short edge to print another side (recommended for paper types that do not support automatic duplexing).
Selecting Double-sided Printing Settings on Mac
Step 1: By choosing Two-sided Printing Settings from the pop-up menu on the print window, you may print on both of the paper's sides.
Step 2: Choose one of the choices for two-sided printing.
Step 3: Choose the Document Sort setting to reflect the type of document you are printing. For that particular document type, the system automatically selects the Adjustments settings.
Step 4: Adjust the Adjustments settings as directed on the screen, if needed.
Step 5: To verify the settings, print a test copy of your double-sided document.
Step 6: Any directions are shown on the screen when it should follow printing.
Also Read:
- How to Fix Epson Printer Error Code 031008?
- How to Fix Epson Printer Error Code 0x9d?
- How to Fix Red Light Blinking Error in All "Epson L Series Printers" ?
FAQ for Get My Epson Printer to Print Double Sided
- Jhon
 Brand: Epson Printer
- Last Update: 1 hour ago
 Related Articles


Top Searches in Epson Printer
Featured Articles
How to Get Canon Printer Online on MAC?
Jul 31, 2026
How to Fix Printer Printing Horizontal Black Lines?
Jul 31, 2026
How to Scan from HP Printer to Computer Windows 10?
Jul 31, 2026
Ricoh Printer Stuck on Processing
Jul 31, 2026
Brother Printer Only Printing in Black and White
Jul 31, 2026
How to Clean Kodak Printhead?
Jul 31, 2026
How to Install Lexmark Printer to Computer Without CD?
Jul 31, 2026
Why My Samsung Printer is Not Printing Clearly?
Jul 31, 2026
Top Questions
Why Won't My Canon Printer Print after Changing an Ink Cartridge?
Jul 31, 2026
How do I Fix a Canon Printer 1403 Error?
Jul 31, 2026
How do I Connect My Canon MG3050 Printer to WiFi?
Jul 31, 2026
How to Change Printer from Offline to Online Canon?
Jul 31, 2026
How to Turn My Ricoh Printer Online from Offline?
Jul 31, 2026
Brother MFC Printer Won't Print Black Despite Full Ink Cartridges
Jul 31, 2026
How to Fix Epson Printer Filter Failed or Stopped on Mac Error?
Jul 31, 2026
How do You Get a Lexmark Printer Back Online?
Jul 31, 2026