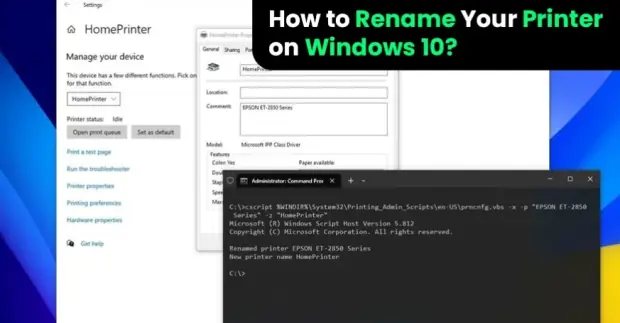
How to Rename Your Printer on Windows 10?
Rename Your Printer on Windows 10:
In case you print from different printers in different locations, then you would want to change the name of your printer to something easily recognizable.
Method 1: Change the Name of the Printer Using Settings
Step 1: Launch Start menu.
Step 2: Go to Devices.
Step 3: Select Printers and scanners.
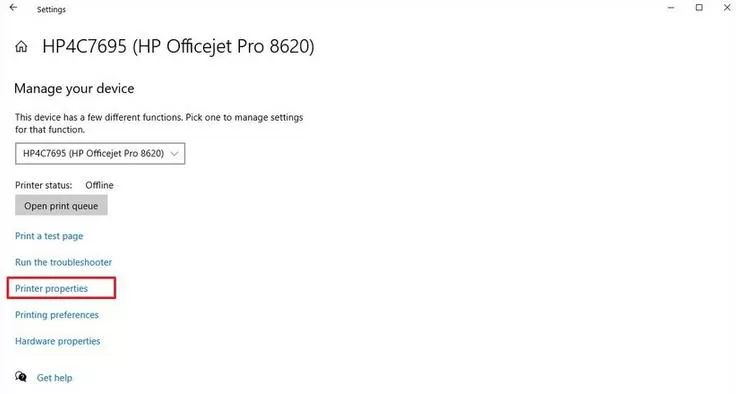
Step 4: Under the section of "Printer and Scanners", choose the printer.
Step 5: Select the button of Manage.

Step 6: Click on the option of printer properties.
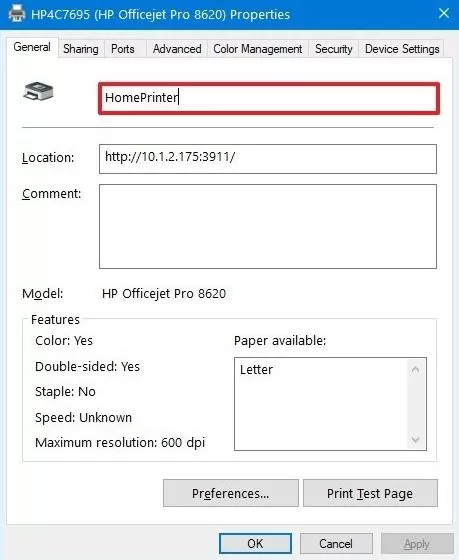
Step 7: Select the General tab.
Step 8: Choose a new name for your printer. In case you are setting up a printer for a company, then you need to use a unique descriptive name. Generally, you would like to use a model, brand, and location as part of the name.
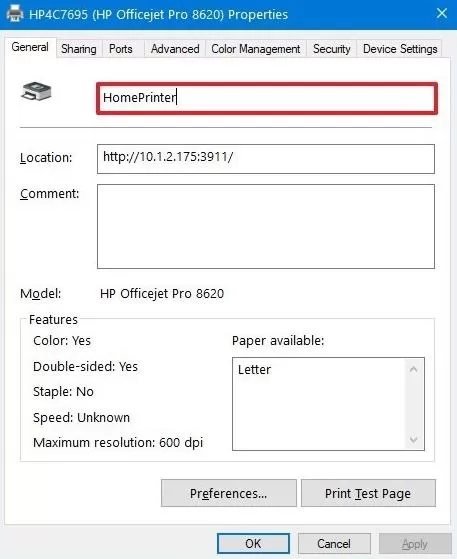
Step 9: Select the button of Apply.
Step 10: Click on the button of Ok.
After you are done completing all these steps, then the name of your printer will change to new name you entered.
Method 2: Change the Name of the Printer Using Control Panel
To change the name of the printer using the control panel, these are the steps that you need to carry out.
Step 1: First of all, launch the control panel.
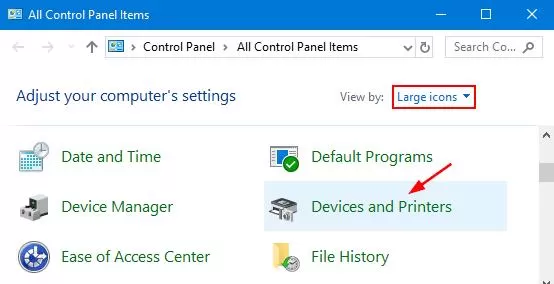
Step 2: Select the option of Hardware and Sound.
Step 3: Now, click on Devices and Printers.
Step 4: Go to your printer and then right-click on it, After that, select the option of Printer properties.
Step 5: Select the General tab.
Step 6: Mention the new name for your printer machine.
Step 7: Click on apply and then click on Ok.
This is how you rename your printer on Windows 10 using Control Panel.
Method 3: Change the Name of the Printer using PowerShell
To rename printer on Windows 10 using PowerShell, these are the steps that one needs to carry out.
Step 1: Launch the Start menu.
Step 2: Select PowerShell, go to the top result, and then right-click on it. After that, select the option of Run as administrator.
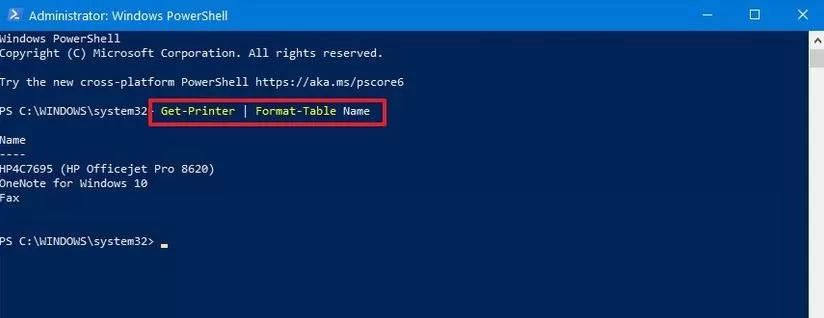
Step 3: Type the command, Get-printer | Format-Table Name and then press enter.
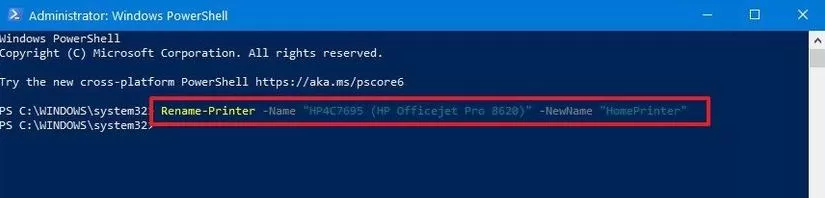
Step 4: Enter the command to rename the printer.
Rename-Printer -Name "CURRENT-PRINTER-NAME" -NewName "NEW-PRINTER-NAME"
After you are done completing the steps, PowerShell is going to change the printer name to the name you mentioned.
When you add a printer on your Windows computer, a new name gets assigned to the printer as per its model number and manufacturer name. This information is sufficient to identify the printer but one may still want to change the name of the device to something else due to various reasons.
There can be several other reasons to change the name of the device such as printer showing up the wrong name or you do not like the default name of the printer. No matter what the reason is, here we are available with some methods that you can apply to rename your printer on Windows 10. These methods include using PowerShell, Control Panel, and Settings. Let us discuss these methods one by one.
So, these are the methods that you need to perform in order to rename your printer Windows 10.
Also Read:
- 9 Best Printer to Buy for Home Office Use in 2026
- How to Troubleshoot Printer Offline Status on Windows 7?
- How to Fix a Mac Failing to Communicate with a Printer?
FAQ for Rename Your Printer on Windows 10
- Mick
 Brand: Other
- Last Update: 1 month ago
 Related Articles


Top Searches in Other
How to Fix Printer Spooler Problems on Windows 10?
May 23, 2026
9 Best Printer to Buy for Home Office Use in 2026
May 23, 2026
How to Fix Boot Device Not Found 3f0 Error?
May 23, 2026
How to Fix Print Job Stuck in Queue?
May 23, 2026
How to Make Printer Online in Windows 10?
May 23, 2026
Why is a Printer Printing Blank Pages on Windows 10?
May 23, 2026
How to Troubleshoot Wireless Printer Not Printing?
May 23, 2026
Featured Articles
How to Get Canon Printer Online on MAC?
Jun 4, 2026
How to Fix Printer Printing Horizontal Black Lines?
May 23, 2026
How to Scan from HP Printer to Computer Windows 10?
Jun 13, 2026
Ricoh Printer Stuck on Processing
May 23, 2026
Brother Printer Only Printing in Black and White
Jun 21, 2026
How to Clean Kodak Printhead?
May 23, 2026
How to Install Lexmark Printer to Computer Without CD?
Jun 12, 2026
Why My Samsung Printer is Not Printing Clearly?
May 23, 2026
Top Questions
Why Won't My Canon Printer Print after Changing an Ink Cartridge?
May 23, 2026
How do I Fix a Canon Printer 1403 Error?
May 23, 2026
How do I Connect My Canon MG3050 Printer to WiFi?
May 23, 2026
How to Change Printer from Offline to Online Canon?
May 23, 2026
How to Turn My Ricoh Printer Online from Offline?
May 23, 2026
Brother MFC Printer Won't Print Black Despite Full Ink Cartridges
May 23, 2026
How to Fix Epson Printer Filter Failed or Stopped on Mac Error?
May 23, 2026
How do You Get a Lexmark Printer Back Online?
May 23, 2026