How to Connect Canon Pixma G7020 to WiFi?
Hello, Please let me know how to connect Canon Pixma G7020 to wifi. I bought this printer but now I am trying to connect it with my wifi then it's causing some error. Help me.
 1 Ans
1 Ans- 4 years ago
Connect Canon Pixma G7020 to WiFi:
The Canon Pixma G7020 is also made to set up the process and make it connect to a wireless network automatically.
- Primarily, press and hold the “wireless connect button” merely for 3 seconds until your screen displays “Processing”.
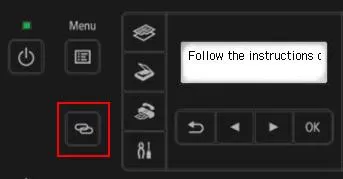
- Release the button and your printer is ready for the connection.
Below is your guide to connect Canon Pixma G7020 to wifi in windows.
Steps to Install the Software for Your Pixma G7020-
Step 1: In your Windows device, click on download.
Step 2: If you are prompted to run the setup program, click Yes or the appropriate affirmative option and run the software to start setup on your computer once the download is completed.

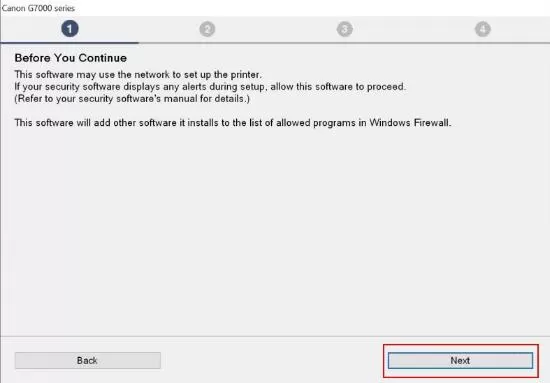
Step 3: Next, follow the onscreen instructions and click on Next. (The setup program will then collect the information on the latest software for your printer. It might take several minutes depending on the speed of your internet connection.)
Step 4: In the next screen, you will see the license agreement, click on Yes to proceed to the further step. (The setup program will display an agreement on your screen about using services related to your printer. Read the agreement and then click on Agree or Do not agree to proceed.)
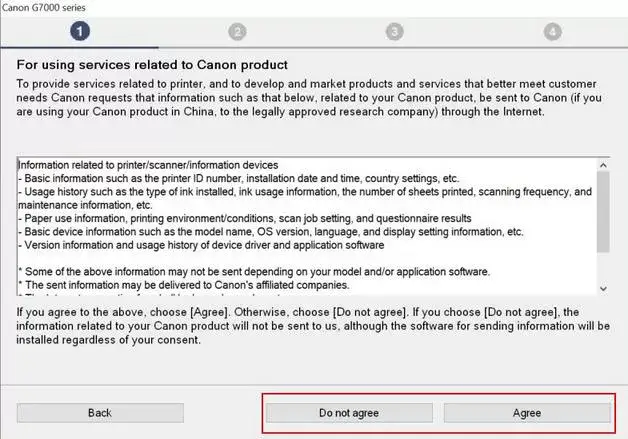
Step 5: If you click on Do not agree, a message will appear on your screen. Click OK to proceed. It will take a few moments for the programs to process. Next, check the printer’s status.

Step 6: In the next screen, you will be prompted to connect Canon Pixma G7020 to wifi.
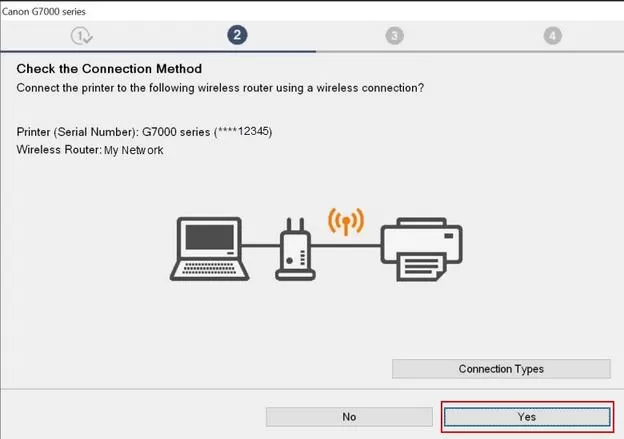
Step 7: Your printer and your wireless router will be displayed on your screen. You will have to click Yes.
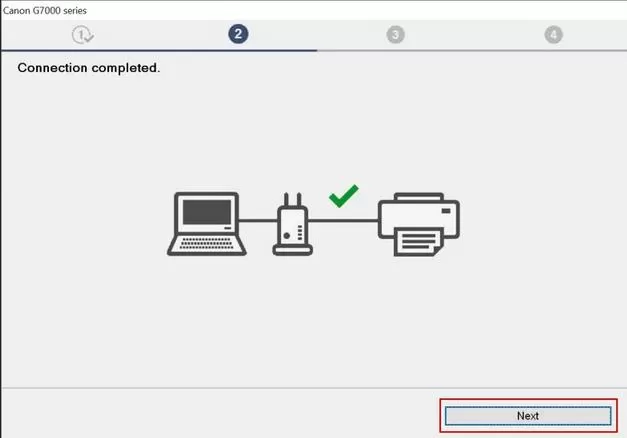
Step 8: Your computer will temporarily connect to the printer to send the wireless network information over. This may take a few minutes.
Step 9: Click on Next, once the connection is completed.
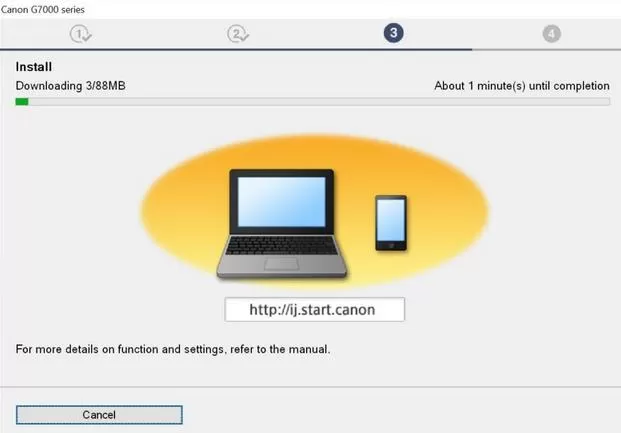
Step 10: The setup program will then start downloading and installing the MP Drivers. This will take a few minutes depending on the speed of your internet connection and your PC.
Step 11: Next, the setup program will then process and might take a few minutes, once the MP drivers are installed.
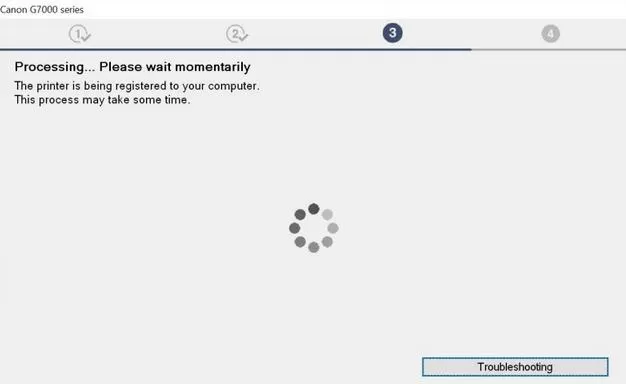
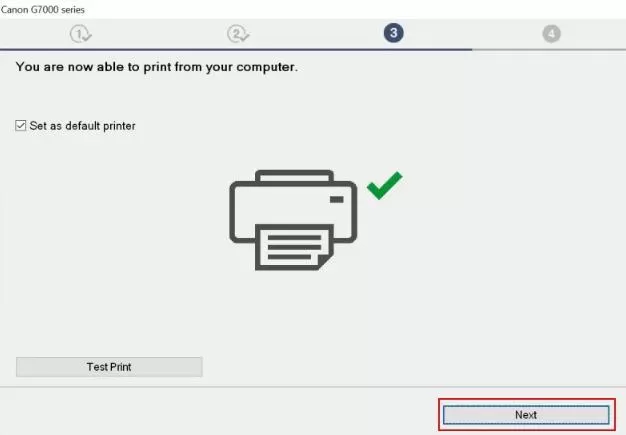
Step 12: A screen will appear to signify that you can print from your computer. Click Next. Now the installer will take a few minutes to process. Then hit the “Continue Online” button.
Step 13: In the next step, additional software will be available for you to download. Check out the instructions to see its functions and services.
Step 14: Once you are done, your printer will be ready to use using windows.

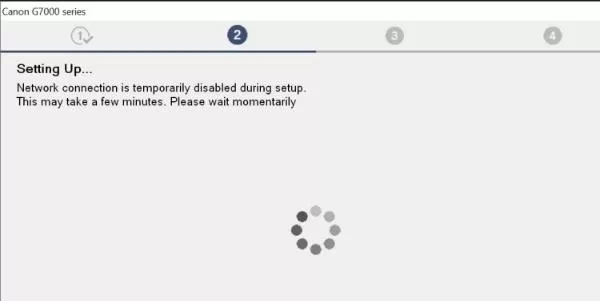
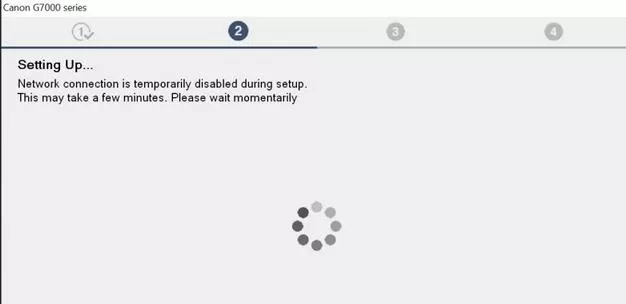
Step 15: Next, click Yes in case your computer device is connected to the 5GHz wireless network. Now your system’s network will be disabled temporarily and it may take a few seconds.
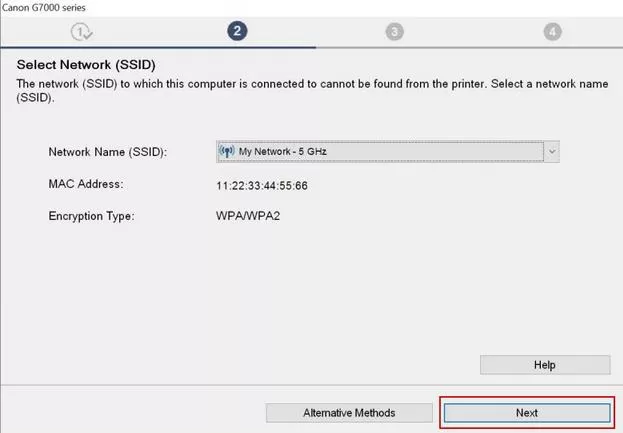
Step 16: Once the previous step is completed, you will be prompted to choose your network name list from the Network Name (SSID): pop-up menu. Click on your network, then click Next. In the password field, type your network security code and then again click on Next.
Step 17: The network connection will again be temporarily disabled. Please wait a few moments. Finally, your printer will connect to the network.
We hope the above article helped you to connect Canon Pixma G7020 to wifi.
- 2 years ago
 Related Articles


Top Searches in Canon Printer
Why Won't My Canon Printer Print after Changing an Ink Cartridge?
May 23, 2026
How to Get Canon Printer Online on MAC?
Jun 4, 2026
How do I Fix a Canon Printer 1403 Error?
May 23, 2026
How do I Connect My Canon MG3050 Printer to WiFi?
May 23, 2026
How to Change Printer from Offline to Online Canon?
May 23, 2026
How to Connect Canon TS3122 Printer to WiFi?
May 23, 2026
How to Fix Canon Printer Carriage Jam Problem?
May 23, 2026
How to Fix Canon Printer Error Code 1660?
May 23, 2026
How to Resolve OKI Printer Error Code 990?
May 23, 2026
How do I Reset Canon MG2522 Printer?
May 23, 2026
Featured Articles
How to Get Canon Printer Online on MAC?
Jun 4, 2026
How to Fix Printer Printing Horizontal Black Lines?
May 23, 2026
How to Scan from HP Printer to Computer Windows 10?
Jun 13, 2026
Ricoh Printer Stuck on Processing
May 23, 2026
Brother Printer Only Printing in Black and White
Jun 21, 2026
How to Clean Kodak Printhead?
May 23, 2026
How to Install Lexmark Printer to Computer Without CD?
Jun 12, 2026
Why My Samsung Printer is Not Printing Clearly?
May 23, 2026
Top Questions
Why Won't My Canon Printer Print after Changing an Ink Cartridge?
Oct 7, 2020
How do I Fix a Canon Printer 1403 Error?
Dec 30, 2020
How do I Connect My Canon MG3050 Printer to WiFi?
Mar 30, 2021
How to Change Printer from Offline to Online Canon?
Nov 27, 2020
How to Turn My Ricoh Printer Online from Offline?
Feb 20, 2021
Brother MFC Printer Won't Print Black Despite Full Ink Cartridges
Nov 7, 2020
How to Fix Epson Printer Filter Failed or Stopped on Mac Error?
Dec 7, 2021
How do You Get a Lexmark Printer Back Online?
Sep 29, 2020