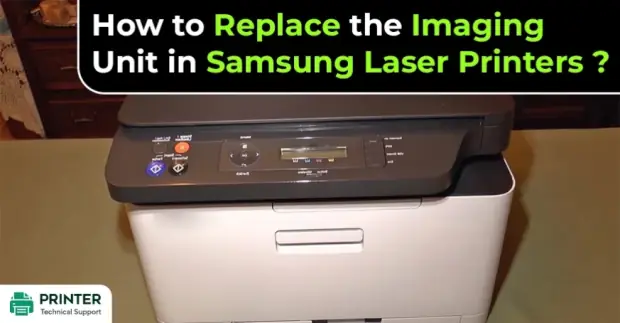
How to Replace the Imaging Unit in Samsung Laser Printers?
Replace the Imaging Unit in Samsung Laser Printers:
Turn the printer off followed by unplugging it from the wall socket prior to undertaking any type of service that calls for you to access the printer. Although the majority of the visuals only depict the single-function printer, this process works with both single-function and multifunction laser printers.
Replace the Imaging Unit in Samsung Laser Printers
Step 1: Toner cartridges can be removed by opening the front cover.
Step 2: Open the front lid of a single-function printer and take out the toner cartridge.
Step 3: Open the front cover of the multifunction printer and take out the toner cartridge.
Step 4: Following the printer groove, pull the imaging unit straight out of the device. Remove the printer's image unit.
Step 5: Align the new imaging unit with the printer groove as you install it.
Step 6: Install the printer's new imaging unit.
Step 7: Close the front cover after inserting the toner cartridge into the printer. Close the front cover after installing the toner cartridge.
Step 8: Close the front cover after installing the toner cartridge.
Also Read:
- How to Connect Samsung Xpress M2020w Printer To Wifi?
- Why My Samsung Printer is Not Printing Clearly?
- Samsung Printer not Working Wireless
FAQ for Replace the Imaging Unit in Samsung Laser Printers
- Mick
 Brand: Samsung Printer
- Last Update: 1 month ago
 Related Articles


Top Searches in Samsung Printer
How to Connect Samsung Wireless Printer to iPhone?
May 23, 2026
How to Resolve Samsung Error Code U1-2315?
May 23, 2026
My Samsung Printer Keeps Printing Blank Pages
May 23, 2026
Why My Samsung Printer is Not Printing Clearly?
May 23, 2026
Samsung Printer not Working Wireless
Jun 21, 2026
Samsung Printer Printing Black Pages
May 23, 2026
Why is my Samsung Wireless Printer not responding?
May 23, 2026
Featured Articles
How to Get Canon Printer Online on MAC?
Jun 4, 2026
How to Fix Printer Printing Horizontal Black Lines?
May 23, 2026
How to Scan from HP Printer to Computer Windows 10?
Jun 13, 2026
Ricoh Printer Stuck on Processing
May 23, 2026
Brother Printer Only Printing in Black and White
Jun 21, 2026
How to Clean Kodak Printhead?
May 23, 2026
How to Install Lexmark Printer to Computer Without CD?
Jun 12, 2026
Why My Samsung Printer is Not Printing Clearly?
May 23, 2026
Top Questions
Why Won't My Canon Printer Print after Changing an Ink Cartridge?
May 23, 2026
How do I Fix a Canon Printer 1403 Error?
May 23, 2026
How do I Connect My Canon MG3050 Printer to WiFi?
May 23, 2026
How to Change Printer from Offline to Online Canon?
May 23, 2026
How to Turn My Ricoh Printer Online from Offline?
May 23, 2026
Brother MFC Printer Won't Print Black Despite Full Ink Cartridges
May 23, 2026
How to Fix Epson Printer Filter Failed or Stopped on Mac Error?
May 23, 2026
How do You Get a Lexmark Printer Back Online?
May 23, 2026