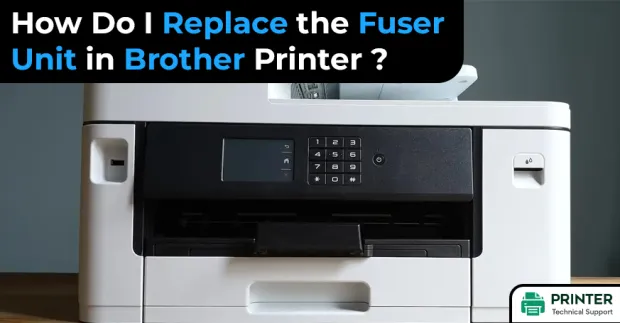
How Do I Replace the Fuser Unit in Brother Printer?
Hello, Please let me know that how do i replace the fuser unit in brother printer. I have no idea about that. Help me.Also Read:
- How to Clean Brother Laser Printer Rollers?
- Why is My Brother Printer Offline Windows?
- How do I Set up WiFi on My Brother Printer?
Replace the Fuser Unit:
To turn the printer off, press the Power button. Cut the printer's power. Wait till the printer has completely cooled down before replacing the fusing unit to prevent harm.
Step 1: Open the top cover.
Step 2: To replace the fuser unit from the printer, unscrew the two large screws in the manner indicated.
Step 3: Holding these handles on either side, extract the fusing unit from the printer.
Step 4: From the fusing unit, take out the oil bottle and the Fuser Cleaner.
Step 5: Connect the printer's new Fusing Unit. Make sure the Fusing Unit is fully inserted into the printer.
Step 6: With the two long screws, fasten the fusing unit.
Step 7: Set the SET position here on Fusing Unit Pressure Release Levers.
Step 8: Lock the Oil Bottle Lock Levers as well as the Fuser Cleaner Lock Levers after inserting the Fuser Cleaner as well as the Oil Bottle into a newer fusing unit.
Step 9: Plug the printer into the AC outlet after closing the Top Cover.
Step 10: Pressing the Power button will start the printer.
Step 11: To take the printer Off Line, press any of the Menu buttons (+, -, Set, or Back).
Step 12: Until "RESET MENU" displays, press + or -.
Step 13: To advance to the following menu level, press Set. Then, press + or - until "PARTS LIFE" appears.
Step 14: Once "FUSER UNIT" appears, hit Set and + simultaneously.
Step 15: After pressing Set, press Go. The condition of the printer is now READY.
I hope now you've all the necessary information regarding how to replace the fuser unit. You must carefully go through the information mentioned above in order to get a better understanding.
- Reid
 Brand: Brother Printer
- Last Update: 1 week ago
 Top Related Question
Related Articles
Top Searches in Brother Printer
How to Connect Brother Wireless Printer to MAC?
May 23, 2026
Brother Printer Only Printing in Black and White
Jun 21, 2026
How to Fix Brother Printer Error 50?
May 23, 2026
How to Fix Brother Printer Printing Blank Pages?
May 23, 2026
Brother Printer Connected But Not Printing
May 23, 2026
Not Able to Print any PDF Files from Brother Printer
May 23, 2026
How Can I Make Homemade Printer Ink?
May 23, 2026
Featured Articles
How to Get Canon Printer Online on MAC?
Jun 4, 2026
How to Fix Printer Printing Horizontal Black Lines?
May 23, 2026
How to Scan from HP Printer to Computer Windows 10?
Jun 13, 2026
Ricoh Printer Stuck on Processing
May 23, 2026
Brother Printer Only Printing in Black and White
Jun 21, 2026
How to Clean Kodak Printhead?
May 23, 2026
How to Install Lexmark Printer to Computer Without CD?
Jun 12, 2026
Why My Samsung Printer is Not Printing Clearly?
May 23, 2026
Top Questions
Why Won't My Canon Printer Print after Changing an Ink Cartridge?
May 23, 2026
How do I Fix a Canon Printer 1403 Error?
May 23, 2026
How do I Connect My Canon MG3050 Printer to WiFi?
May 23, 2026
How to Change Printer from Offline to Online Canon?
May 23, 2026
How to Turn My Ricoh Printer Online from Offline?
May 23, 2026
Brother MFC Printer Won't Print Black Despite Full Ink Cartridges
May 23, 2026
How to Fix Epson Printer Filter Failed or Stopped on Mac Error?
May 23, 2026
How do You Get a Lexmark Printer Back Online?
May 23, 2026