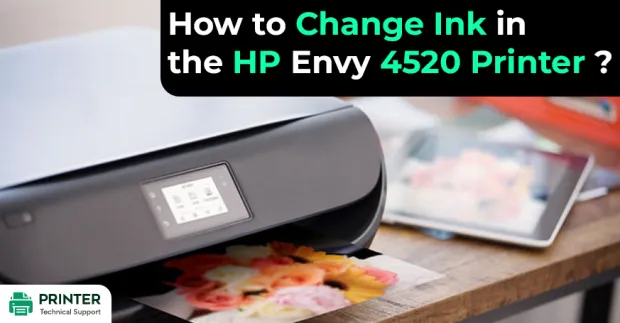
How to Change Ink in the HP Envy 4520 Printer?
I am facing some issues while changing the ink in the HP Envy 4520 printer. Is there anyone who knows about it. Help meAlso Read:
- How to Fix HP Officejet Pro 6970 Printer is Offline to Online Issues?
- How to Connect a Printer and Other Devices to a WiFi Hotspot?
- How to Setup HP Laserjet Pro MFP m28w?
Change Ink in the HP Envy 4520 Printer:
Ensure that you buy the proper ink cartridges for your specific printer and printer region or have your recent ones refilled. Cartridges don't seem to be compatible between completely different brands, and sometimes not at intervals constant complete. not like different inkjet makers, the power unit styles its inkjet hardware to use country-specific consumables. after you unpack a brand new power unit inkjet printer and set it up, you put in a group of ink tanks that ship with the printer.
As you switch on the device and findable to use it, AN initialization sequence localizes it to the country related to the ink cartridges you put in. power unit recommends that you just use original new power unit ink cartridges.
Change Ink in the HP Envy 4520 printer
Step 1: Press the facility button to show on the printer, if it's not already turned on. Wait till the merchandise is idle and silent before continuing.
Step 2: Load plain white book within the input receptacle. Remove the previous cartridge.
Step 3: Open the gate. The carriage shift to the middle of the printer. Wait till the carriage is idle and silent before you proceed.
Step 4: To unharness the cartridge, elevate the lid on the cartridge slot, then gently push the lid back till it stops. Then, pull abreast of the cartridge to get rid of it from the slot. Insert a replacement cartridge.
Step 5: take away the cartridge from the packaging. take care to solely bit the black plastic on the cartridge.
Step 6: take away the plastic tape from the cartridge mistreatment of the pull tab.
Do NOT:
- Take away the copper electrical strip.
- Bit the copper-colored contacts or the ink nozzles.
- Change the protection tape on the contacts.
Step 7: Hold the cartridge by its sides with the nozzles toward the printer, then slide the cartridge forward into the slot. Then shut the latch till it clicks to secure the cartridge into place. Repeat the previous steps to put in the opposite cartridge, if needed. the color cartridge is on the left, and therefore the black cartridge is on the correct.
Step 8: shut the cartridge gate. Align cartridges.
Step 9: The H.P. printer package prompts you to align the cartridges after you print a document once putting in a replacement ink cartridge. The printer mechanically prints the associate alignment page. anticipate the alignment page to completely eject from the printer.
Step 10: Elevate the merchandise lid.
Step 11: Place the alignment page on the printed side down on the right-front corner of the scanner glass. See the graven guide next to the scanner glass for facilitating the loading of the alignment page.
Step 12: shut the lid, and so bit OK. The product scans the alignment page and completes the alignment method.
Step 13: Discard or recycle the alignment page.
- Steffan
 Brand: Hp Printer
- Last Update: 1 month ago
 Related Articles


Top Searches in Hp Printer
How to Fix Printer Printing Horizontal Black Lines?
May 23, 2026
How to Scan from HP Printer to Computer Windows 10?
Jun 13, 2026
How do I Get My HP Printer to Print PDF Files?
May 23, 2026
How do I Connect HP Laserjet Pro M118dW to WiFi?
May 23, 2026
How to Fix PCL XL Error on HP Printer?
May 23, 2026
Why is My HP OfficeJet Pro 8610 Printer Offline?
May 23, 2026
How do I Get My HP Printer Back Online?
May 23, 2026
Featured Articles
How to Get Canon Printer Online on MAC?
Jun 4, 2026
How to Fix Printer Printing Horizontal Black Lines?
May 23, 2026
How to Scan from HP Printer to Computer Windows 10?
Jun 13, 2026
Ricoh Printer Stuck on Processing
May 23, 2026
Brother Printer Only Printing in Black and White
Jun 21, 2026
How to Clean Kodak Printhead?
May 23, 2026
How to Install Lexmark Printer to Computer Without CD?
Jun 12, 2026
Why My Samsung Printer is Not Printing Clearly?
May 23, 2026
Top Questions
Why Won't My Canon Printer Print after Changing an Ink Cartridge?
May 23, 2026
How do I Fix a Canon Printer 1403 Error?
May 23, 2026
How do I Connect My Canon MG3050 Printer to WiFi?
May 23, 2026
How to Change Printer from Offline to Online Canon?
May 23, 2026
How to Turn My Ricoh Printer Online from Offline?
May 23, 2026
Brother MFC Printer Won't Print Black Despite Full Ink Cartridges
May 23, 2026
How to Fix Epson Printer Filter Failed or Stopped on Mac Error?
May 23, 2026
How do You Get a Lexmark Printer Back Online?
May 23, 2026