How to Reset HP Deskjet 3510 Ink Cartridge?
Reset HP Deskjet 3510 Ink Cartridge:
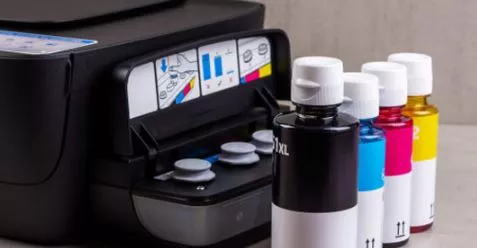
The HP Deskjet 3510 is a little all-in-one printer perfect for people who only print once in a while but still require a multifunction printer. It has a lot of power for the price and can produce high-quality texts and photographs. However, aftermarket cartridges will not operate with HP printers as they will with any other printer manufacturer.
HP recommends genuine ink cartridges for a reason. However, using non-OEM consumables can result in difficult-to-resolve issues unless you use ink cartridges intended exclusively for these printers.
You might be using third-party ink for HP Deskjet 3510 or have just refilled your cartridges if you're searching for ways to Reset HP Deskjet 3510 Ink Cartridge. We've got two answers to your "How can I reset my HP ink cartridge?" question right here.
Why My HP Deskjet 3510 Printer Isn't Recognizing My New Ink Cartridges.
Let us first assist you in understanding why your HP printer is rejecting your new ink cartridges before we go on to possible solutions.
You're Using a Genuine HP Ink Cartridge That's been Refilled:
Have you ever received a low-ink warning from your printer even though your cartridges are still full of ink? Sometimes, especially after replenishing your ink cartridges, your printer will offer an erroneous estimate of ink levels.
Because most HP printers are intended to save cartridge serial numbers in their internal memories, this is the case. As a result, if you refill the same cartridge, your printer will not notice that it has been refilled.
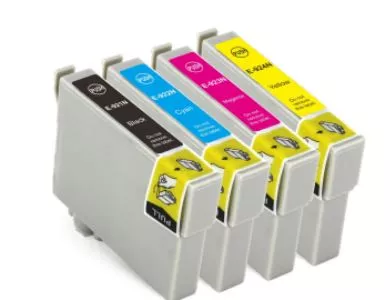
You're Using Remanufactured Ink Cartridges:
Furthermore, if you refill your new ink cartridges or use compatible or remanufactured HP ink cartridges, your HP printer will detect them as counterfeit. You won't be able to reset the ink levels if this is the case quickly.
Why? Because OEM HP ink cartridges have clever chips in their nozzles that count each drop and mark them as empty once the specified number of droplets has been reached. When using aftermarket consumables, you must learn to disregard counterfeit, non-genuine, low ink, and similar warning signals.
Your Ink Cartridges' Internal Electronics have been Damaged:
You may have also run into more serious ink cartridge issues, such as the ones listed below:
- The cartridge is not intended for your printer
- Problem on black or colour cartridge/s
- Incompatible cartridges
- Other similar messages
When the messages above appear, it usually means that the ink cartridges' internal electronics have been destroyed. HP ink cartridge electrical wires are extremely sensitive and prone to damage, resulting in cartridge communication problems. Additionally, the amount of time a cartridge is held without being used increases the risk of internal electrical damage.
How to Reset an HP Deskjet 3510 Ink Cartridge in Two Ways
Following your understanding of the causes of ink cartridge incompatibility with your HP printer, there are two approaches to getting your printer to recognize your new cartridges.
Method 1: Reset Your Printer Completely.
Most ink cartridge issues can be resolved by resetting your printer. For example, if your printer continually requests you to replace ink cartridges or tells you they are empty, a full reset should solve the problem.
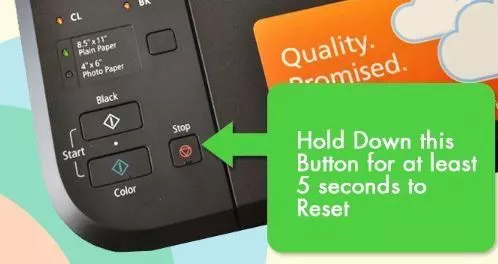
To Reset Your Printer, Follow the Steps Below:
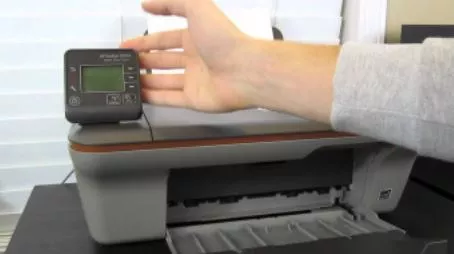
Step 1: Turn on your printer first if it isn't already on.
Step 2: Next, remove all of the cartridges from your printer.
Step 3: Wait for your printer to turn off and become silent. It normally takes 20 to 30 seconds to do this task.
Step 4: While the printer is still turned on, unplug the power cable from the wall socket.
Step 5: Reinstall the ink cartridges after a one-minute wait.
Step 6: Next, connect your printer's power cable to the wall outlet and the printer itself.
Step 7: Again, please wait until your printer is silent and idle before turning it on.
Check to see whether it now recognizes your new ink cartridges. If not, try resetting your printer five times using the procedures below:
1. Then, remove the ink cartridges from your printer and turn them off again.
2. Turn your printer on and leave it on for 20 seconds before shutting it off. Then, wait for your printer to shut down completely.
3. Step 2 should be repeated five times.
4. Reinstall your printer's ink cartridges.
5. Make a practice page. This will ensure that your printer's ink level system is reset.
After five resets, the identification information of previously installed HP cartridges will be erased from your printer's internal memory. The serial numbers of the last five cartridges you used are normally stored in HP printers. If this doesn't work, you can trick your printer into thinking you've inserted fresh ink cartridges using refilled cartridges.
Method 2: Making Refilled Cartridges Work by "Fooling" Your HP Deskjet 3510 Printer
Clear tape is required for the following steps with refilled authentic HP cartridges:
Step 1: Remove the ink cartridges from your printer and set them aside.
Step 2: Locate your ink cartridge's electrical connectors and bring them closer to you. Six columns of metal connections will be visible.
Step 3: Locate the 7th metal contact in the 2nd column from the left side of your cartridge (count from the bottom, which is the one closest to you).
Step 4: Place a piece of tape on the seventh metal contact.
Step 5: Replacing the cartridge in your printer is a simple process.
Step 6: Ensure that the printheads are properly aligned (the next section specifies the steps). Finally, remove the ink cartridge once more after you're finished.
Step 7: Keep the tape you used to cover the seventh metal contact. Locate the 6th metal contact from the bottom in the 2nd column from your cartridge's right side.
Step 8: Place a piece of tape on the sixth metal contact once more.
Step 9: Replace the ink cartridge and go through the printer alignment process once more.
Step 10: Uninstall the ink cartridges and remove the tapes, including any residue left on the metal contacts, once the alignment is complete.
Step 11: In your printer, reinstall the cartridge.
Step 12: Carry out the same procedure with the other ink cartridge.
Also Read:
- How do I Connect a HP Wireless Printer to My iPad?
- HP Printer not Connecting to Computer
- How to Install Ink Cartridge for an HP Officejet Pro 6970 Printer?
FAQ for Reset HP Deskjet 3510 Ink Cartridge
- Mick
 Brand: Hp Printer
- Last Update: 3 weeks ago
 Related Articles

Top Searches in Hp Printer
How to Fix Printer Printing Horizontal Black Lines?
May 23, 2026
How to Scan from HP Printer to Computer Windows 10?
Jun 13, 2026
How do I Get My HP Printer to Print PDF Files?
May 23, 2026
How do I Connect HP Laserjet Pro M118dW to WiFi?
May 23, 2026
How to Fix PCL XL Error on HP Printer?
May 23, 2026
Why is My HP OfficeJet Pro 8610 Printer Offline?
May 23, 2026
How do I Get My HP Printer Back Online?
May 23, 2026
Featured Articles
How to Get Canon Printer Online on MAC?
Jun 4, 2026
How to Fix Printer Printing Horizontal Black Lines?
May 23, 2026
How to Scan from HP Printer to Computer Windows 10?
Jun 13, 2026
Ricoh Printer Stuck on Processing
May 23, 2026
Brother Printer Only Printing in Black and White
May 23, 2026
How to Clean Kodak Printhead?
May 23, 2026
How to Install Lexmark Printer to Computer Without CD?
Jun 12, 2026
Why My Samsung Printer is Not Printing Clearly?
May 23, 2026
Top Questions
Why Won't My Canon Printer Print after Changing an Ink Cartridge?
May 23, 2026
How do I Fix a Canon Printer 1403 Error?
May 23, 2026
How do I Connect My Canon MG3050 Printer to WiFi?
May 23, 2026
How to Change Printer from Offline to Online Canon?
May 23, 2026
How to Turn My Ricoh Printer Online from Offline?
May 23, 2026
Brother MFC Printer Won't Print Black Despite Full Ink Cartridges
May 23, 2026
How to Fix Epson Printer Filter Failed or Stopped on Mac Error?
May 23, 2026
How do You Get a Lexmark Printer Back Online?
May 23, 2026