How to Troubleshooting HDMI Display and Sound Issues in Windows?
Troubleshooting HDMI Display and Sound Issues in Windows 10, I have no idea about that, how to fix it.If you have any suggestion then give us.
 1 Ans
1 Ans- 4 years ago
Troubleshooting HDMI Display and Sound Issues in Windows:
Whenever you try to connect your PC to a speaker, TV, or monitor, you may come across sound or display issues. If you are also troubled by this problem, then there is nothing to worry about.
Here in this guide, you will get to know all the steps that you need to carry out for troubleshooting HDMI display and sound issues.
Step 1: Use the Right HDMI Cable for Your Device
You must have seen that most of the HDTV devices have 2 or more HDMI ports. Hence, one needs to ensure that he or she connects the HDMI cable to the port, which is the same as the input source on his or her computer system.
In case your HDMI device and PC use different types of cables, then you need to buy adapters.
Step 2: Select Your HDMI Device as the Default Output Device
In the next step, you need to set your HDMI device as the default output device. When no external HDMI device is connected to the computer system, then your PC automatically switches to the computer's speakers. When you connect your HDMI device to your PC, then it switches back to your HDMI device.
Launch HDMI settings to make sure that the right output device is selected.
- Connect one end of your HDMI cable to the HDMI device and the other end to the computer system.
- Now, launch the Start menu and enter Control Panel in the search area.
- Select Control Panel appearing in the search results. Now, the Control panel will open up.
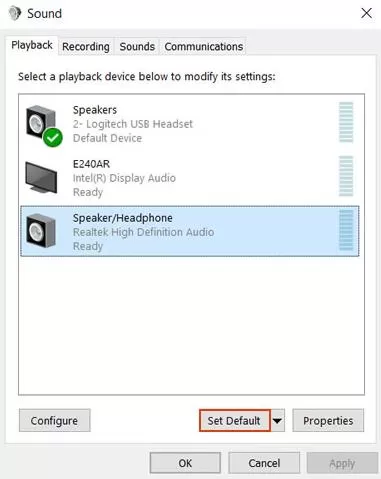
- Select Sound and then select the Playback tab.
- The sound window will open up. Now, go to the playback tab and then select the option of Headphone or speaker and then click on the option of Set Default.
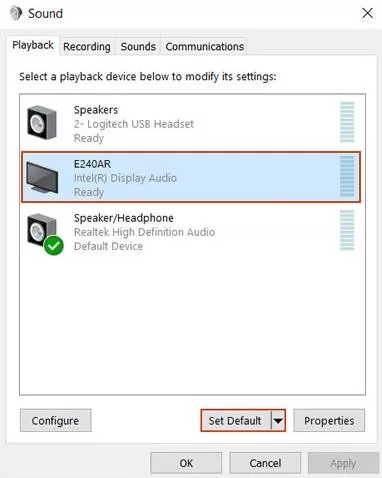
- Click on the output device that is connected to your HDMI cable. After that, click on the option of Set Default.
- Now, select the output device connected to your HDMI cable and then right-click on it. After that, select the option of Show Disconnected Devices. The HDMI cable should be connected at the time of configuration of the device.
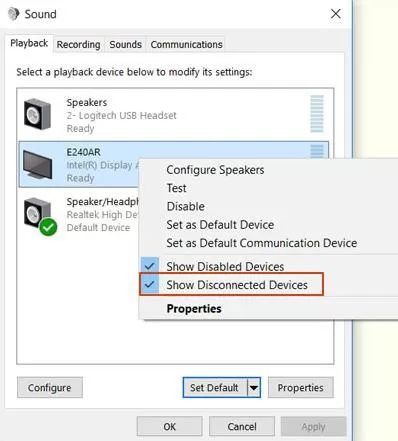
- To see all the available audio devices, right-click on any device appearing in the Sound Window. After that, select the options of Show Disconnected Devices and Show Disabled device.
Step 3: Launch HP Support Assistant and Run an Audio Check
Run a soundcheck to ensure that your sound device is working fine.
- Launch the HP Support Assistant for downloading and installing the HP Support Assistant software. In case it isn't installed on your system already.
- Launch the Start menu and search for HP Support Assistant in the search area. Now, launch HP Support Assistant.
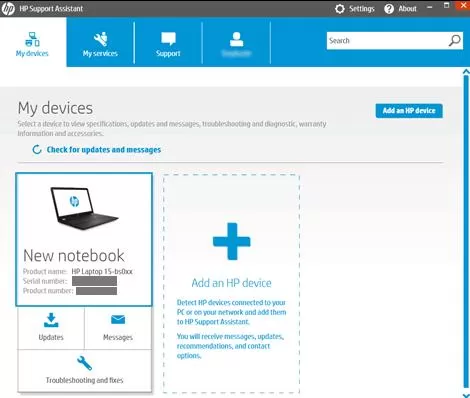
- Now, go to the tab of My Devices and then click on your computer.
- After that, click on the tab of Troubleshooting and Fixes and then select the option of Audio Check in the section of One-Click Fixes.
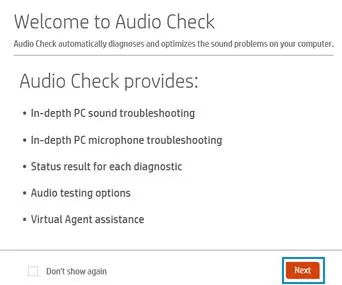
- After that, select Next and wait till the audio test gets completed.
- Now, take a look at the microphone and audio diagnostic results appearing on the screen and then select Test Audio.
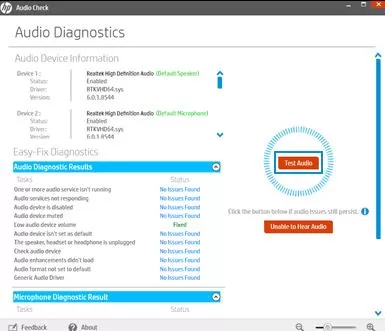
- In case the sound issues are appearing and you are not able to hear anything properly, then select the option of Unable to Hear Audio and then carry out the instructions appearing on the screen. In case the problem is still occurring, then carry out the next step.
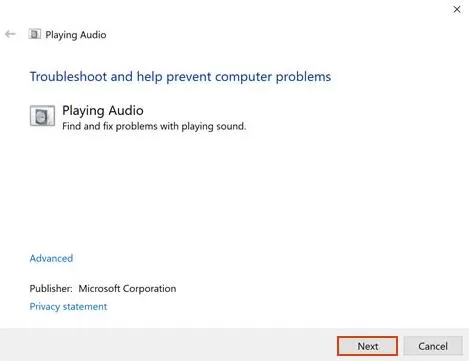
Step 4: Use the Sound Troubleshooter of Windows
Use the Windows sound troubleshooter to fix the sound issues
- Open the Start menu and then click on the Control panel to open it.
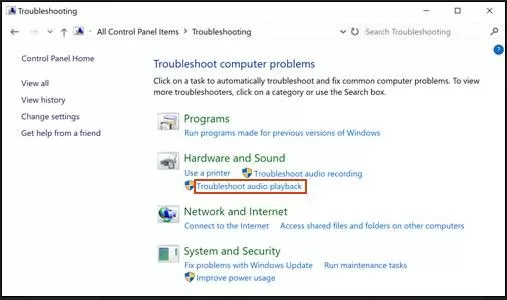
- Select Troubleshooting.
- Now, below the heading of Hardware and Sound. Select the option of Troubleshoot audio playback.
- This will launch the sound troubleshooter. Select Next. The troubleshooter will start checking the status of the audio service.
- Now, choose the device that you want to troubleshoot.
- Carry out the instructions appearing on the screen and make alterations as per the suggestions given by the troubleshooter. After you are done, close the troubleshooter.
- 2 years ago
 Related Articles


Top Searches in Hp Printer
Featured Articles
How to Get Canon Printer Online on MAC?
Jul 31, 2026
How to Fix Printer Printing Horizontal Black Lines?
Jul 31, 2026
How to Scan from HP Printer to Computer Windows 10?
Jul 31, 2026
Ricoh Printer Stuck on Processing
Jul 31, 2026
Brother Printer Only Printing in Black and White
Jul 31, 2026
How to Clean Kodak Printhead?
Jul 31, 2026
How to Install Lexmark Printer to Computer Without CD?
Jul 30, 2026
Why My Samsung Printer is Not Printing Clearly?
Jul 31, 2026
Top Questions
Why Won't My Canon Printer Print after Changing an Ink Cartridge?
Oct 7, 2020
How do I Fix a Canon Printer 1403 Error?
Dec 30, 2020
How do I Connect My Canon MG3050 Printer to WiFi?
Mar 30, 2021
How to Change Printer from Offline to Online Canon?
Nov 27, 2020
How to Turn My Ricoh Printer Online from Offline?
Feb 20, 2021
Brother MFC Printer Won't Print Black Despite Full Ink Cartridges
Nov 7, 2020
How to Fix Epson Printer Filter Failed or Stopped on Mac Error?
Dec 7, 2021
How do You Get a Lexmark Printer Back Online?
Sep 29, 2020